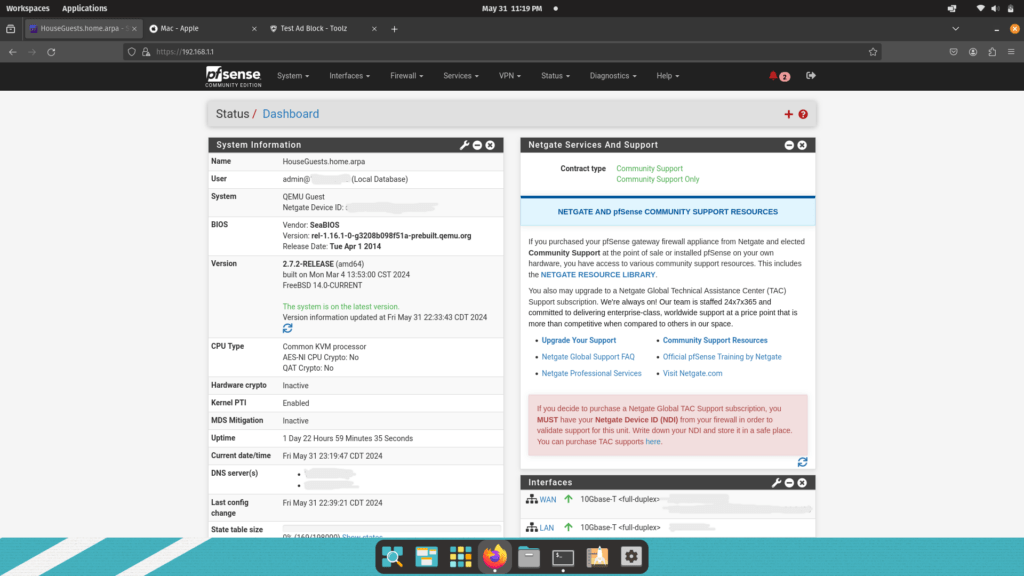
It is one thing to flip a switch on our router companion app and quickly make a guest network option, it is another thing altogether to build your own. Building and configuring your own guest network means you have more control over it. Using the ISP built in options is limiting and does not allow for additional configuration options.
There are debates about setting up PFsense. Some people opt for 100% physical hardware while others opt for virtualizing the whole thing. Some people will buy equipment from PFsense directly while others will take more of a DIY approach to it. In my case, I virtualized PFsense and used existing hardware.
Here is a list of items that were used for this project:
- Proxmox Virtual Machine Manager
- PFsense Installation Media
- Netgear Nighthawk R8000
- USB to Ethernet Adaptor
- Raspberry Pi 4B
- Pi Hole DNS Sinkhole
There are a few configuration things that need to be done first if you are going to go down the Proxmox route.
- Before you create the virtual machine in Proxmox, you will need to configure the second NIC (Network Interface Card). This is done by going to pve > system > network.
- Raspberian Lite will need to be installed and ready to go on the Pi beforehand. Ideally, you’ll want to not only have the OS installed, but also have it updated and install pi hole as well.
Once you have everything installed and ready to go, you should be able to find the Wi-Fi network and can test connectivity. The idea with this custom setup is to separate the main network from this one while securing it via using a DNS Resolver that kills malicious requests, blocks ads, and it keeps the kids safe online.